This guide walks you through creating your first bithost account and buying a VPS with Bitcoin or another coin. No ID, no credit card - just an email address and some crypto.
Prerequisites
- A cryptocurrency wallet (Bitcoin, Lightning Network, ETH, LTC, DOGE, or any supported coin)
- An SSH key pair (we'll show you where to add it during server creation)
- About 5 minutes
1. Create a free account
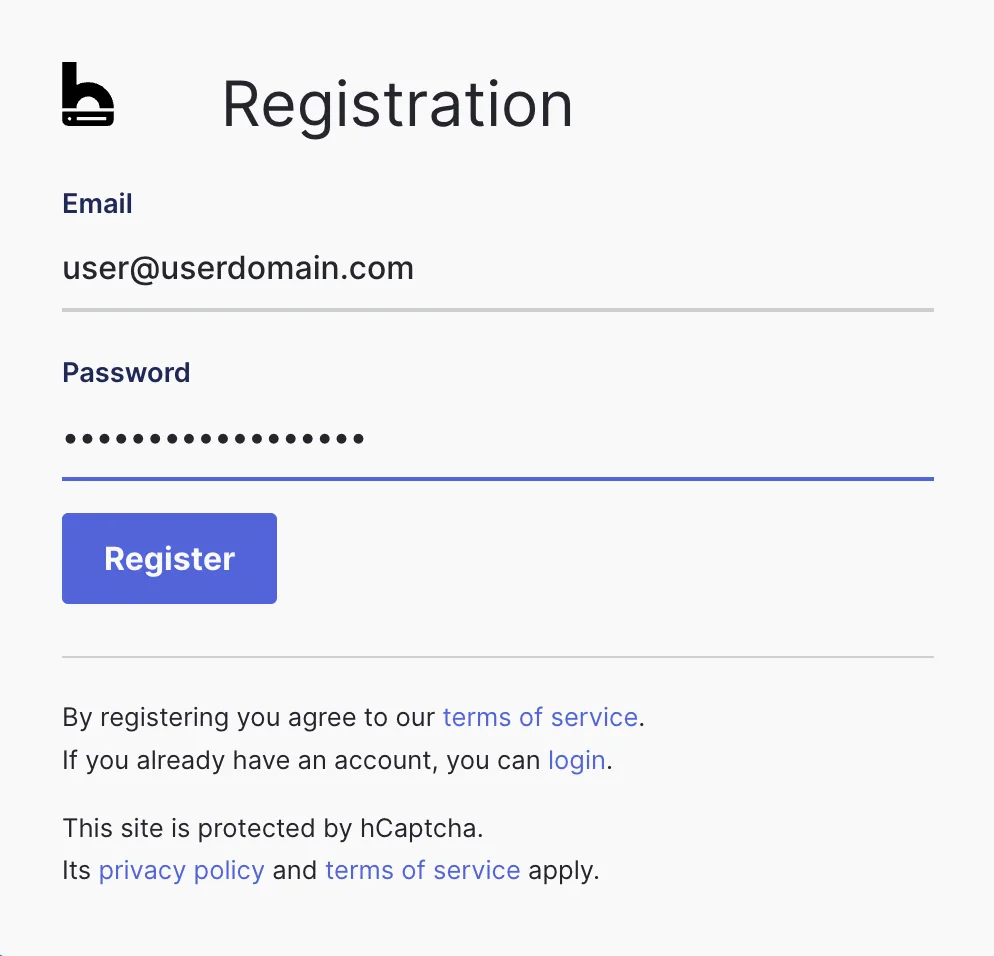
Go to dashboard.bithost.io/registration and enter your email address and a password.
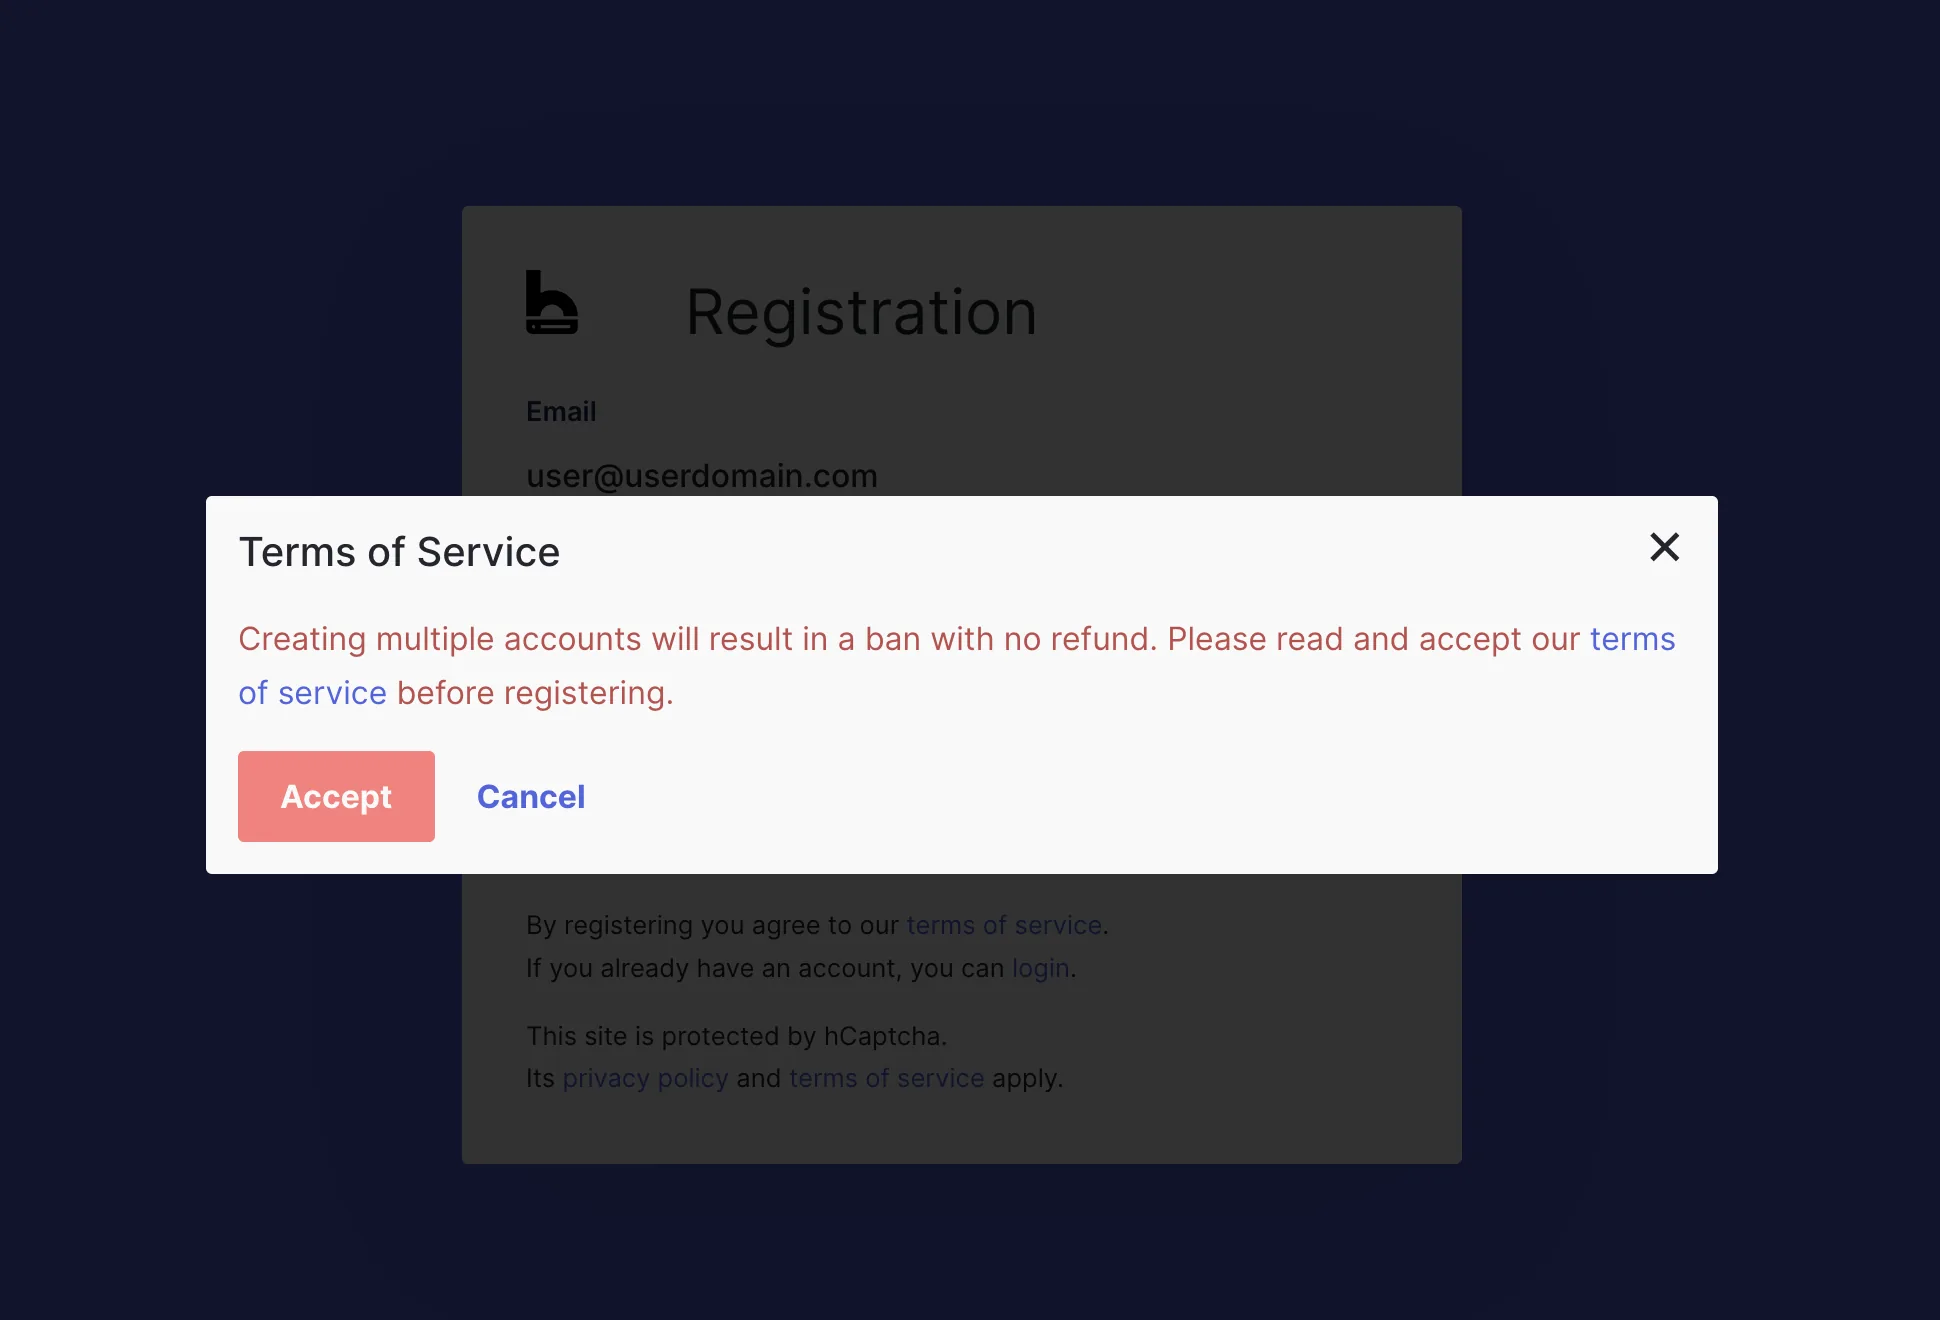
Before completing registration, read the Terms of Service.
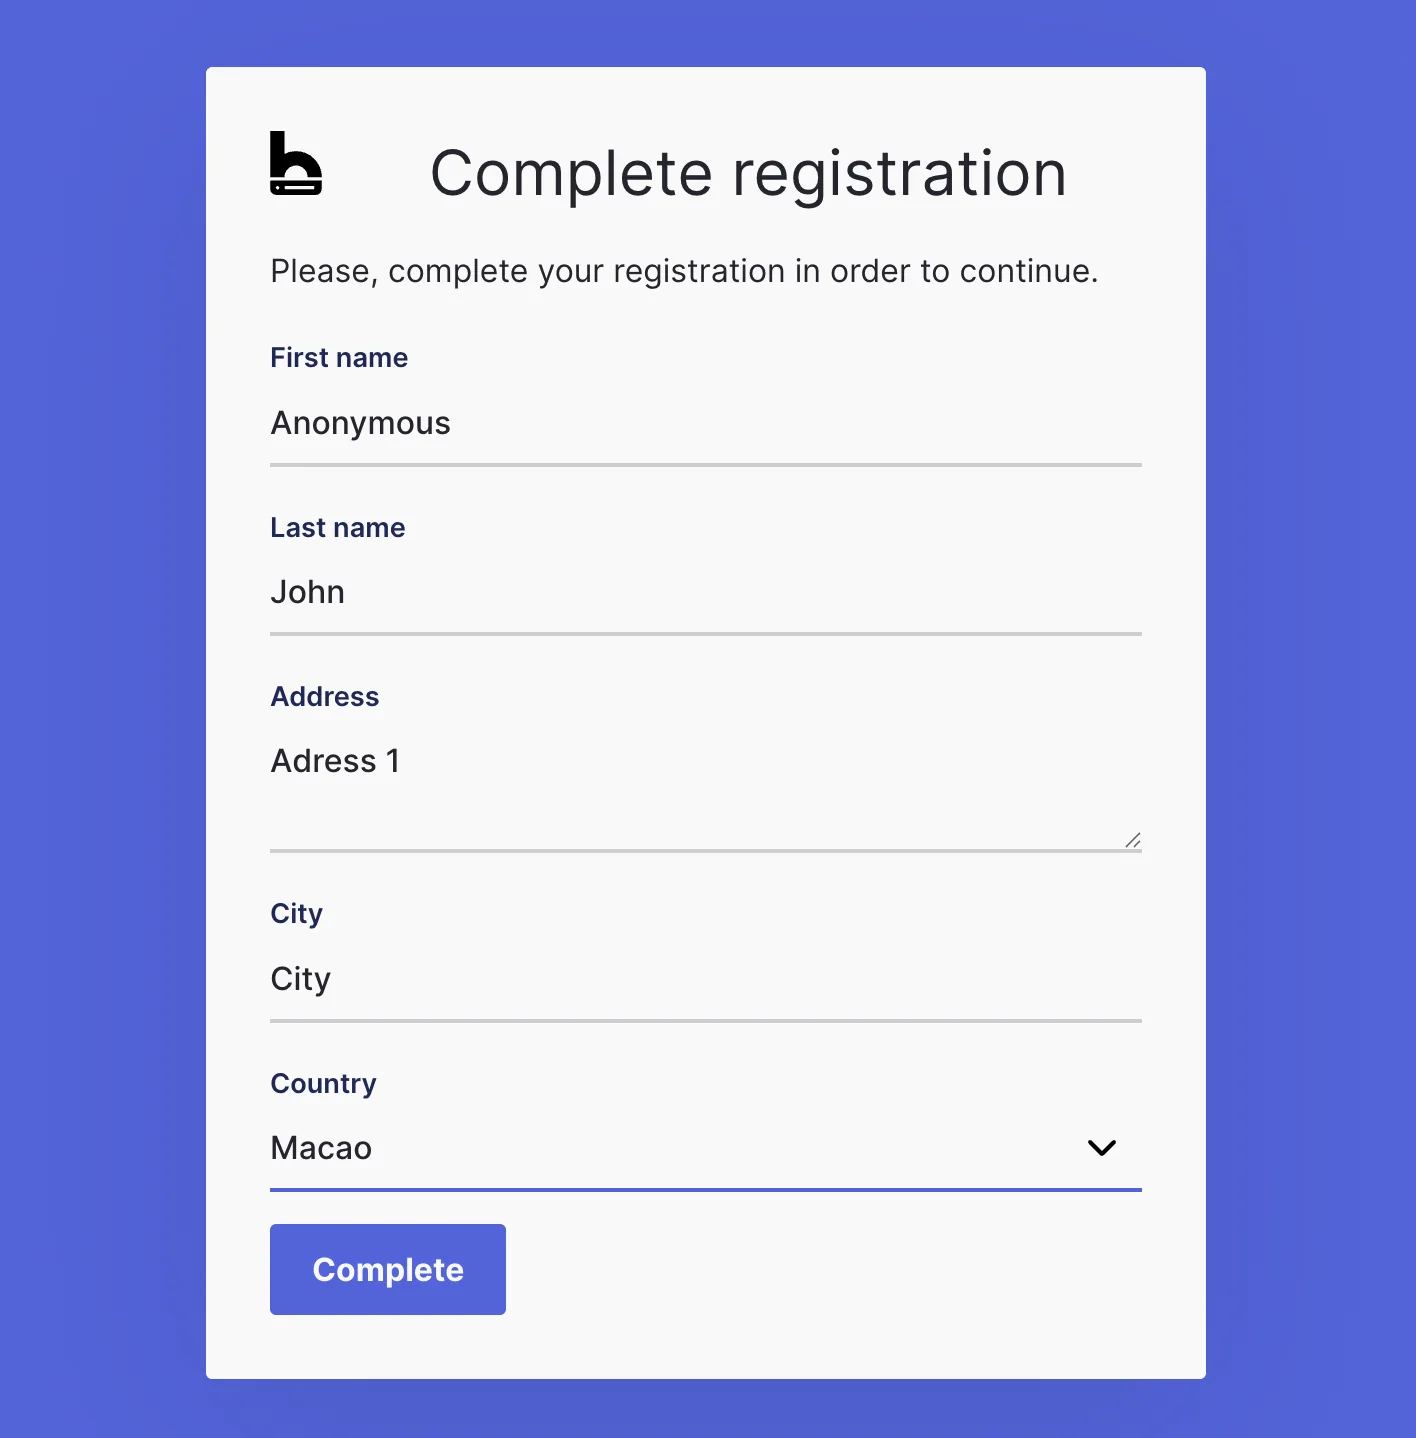
That's the entire signup flow - no phone number, no ID, no credit card. bithost does not require any address or KYC verification.
You will receive a confirmation email. Click the link to verify your address (required to receive low-balance alerts).
2. Top up your balance
Click the Top up button in the dashboard.
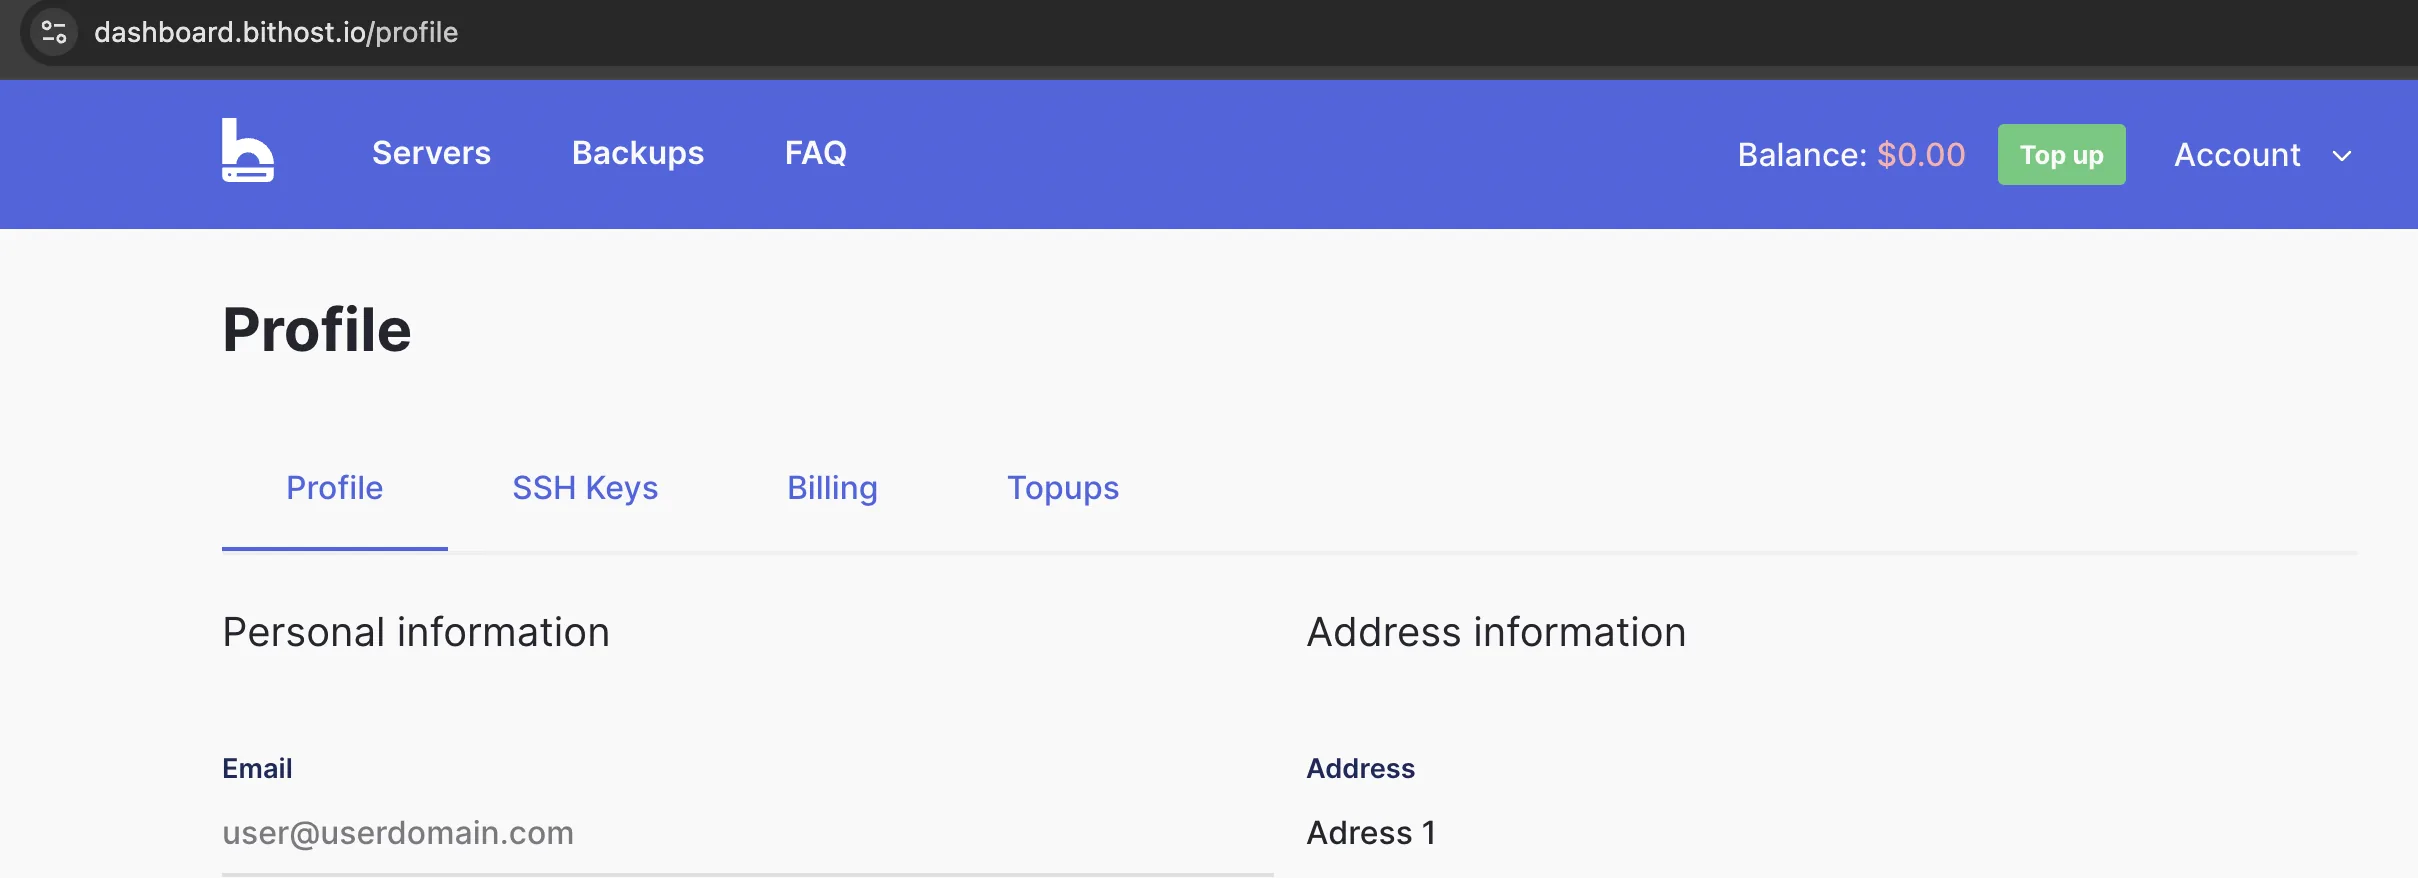
Choose your preferred cryptocurrency and send the amount to the generated address.
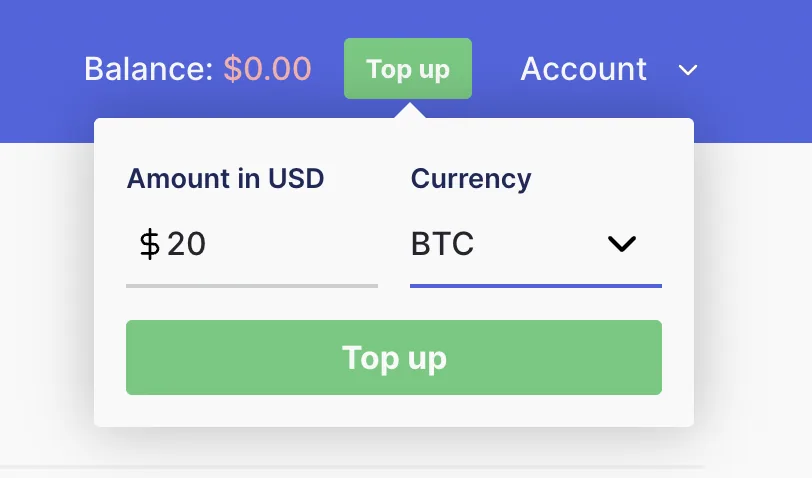
- Bitcoin (BTC) - On-chain. Credits once the transaction has 1 confirmation (typically 10-20 min).
- Lightning Network - Instant. Credits in under a second. Recommended for fast, low-fee top-ups.
- ETH, LTC, DOGE, USDC, XRP, ZEC, BCH and more - Credits after network confirmation. Full list of supported coins →
Your balance is denominated in USD and converted at the exchange rate at the time of deposit. A fresh deposit address is generated for each top-up.
3. Create a server
Go to dashboard.bithost.io/servers and click Launch server.
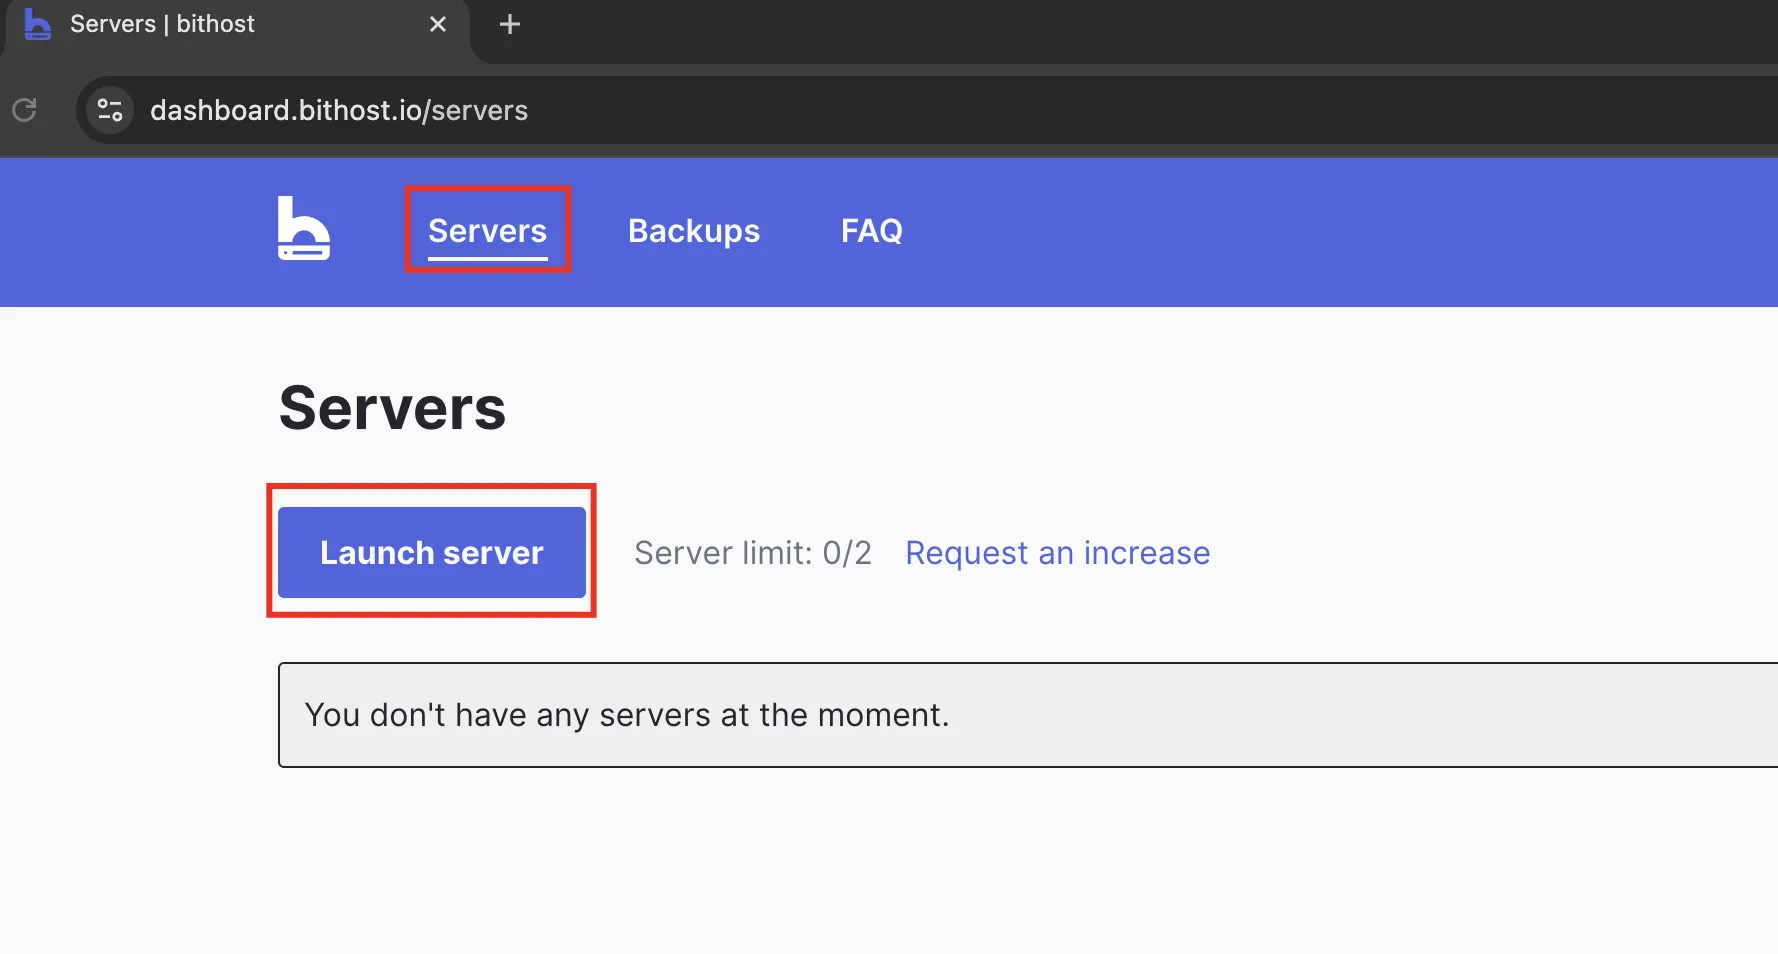
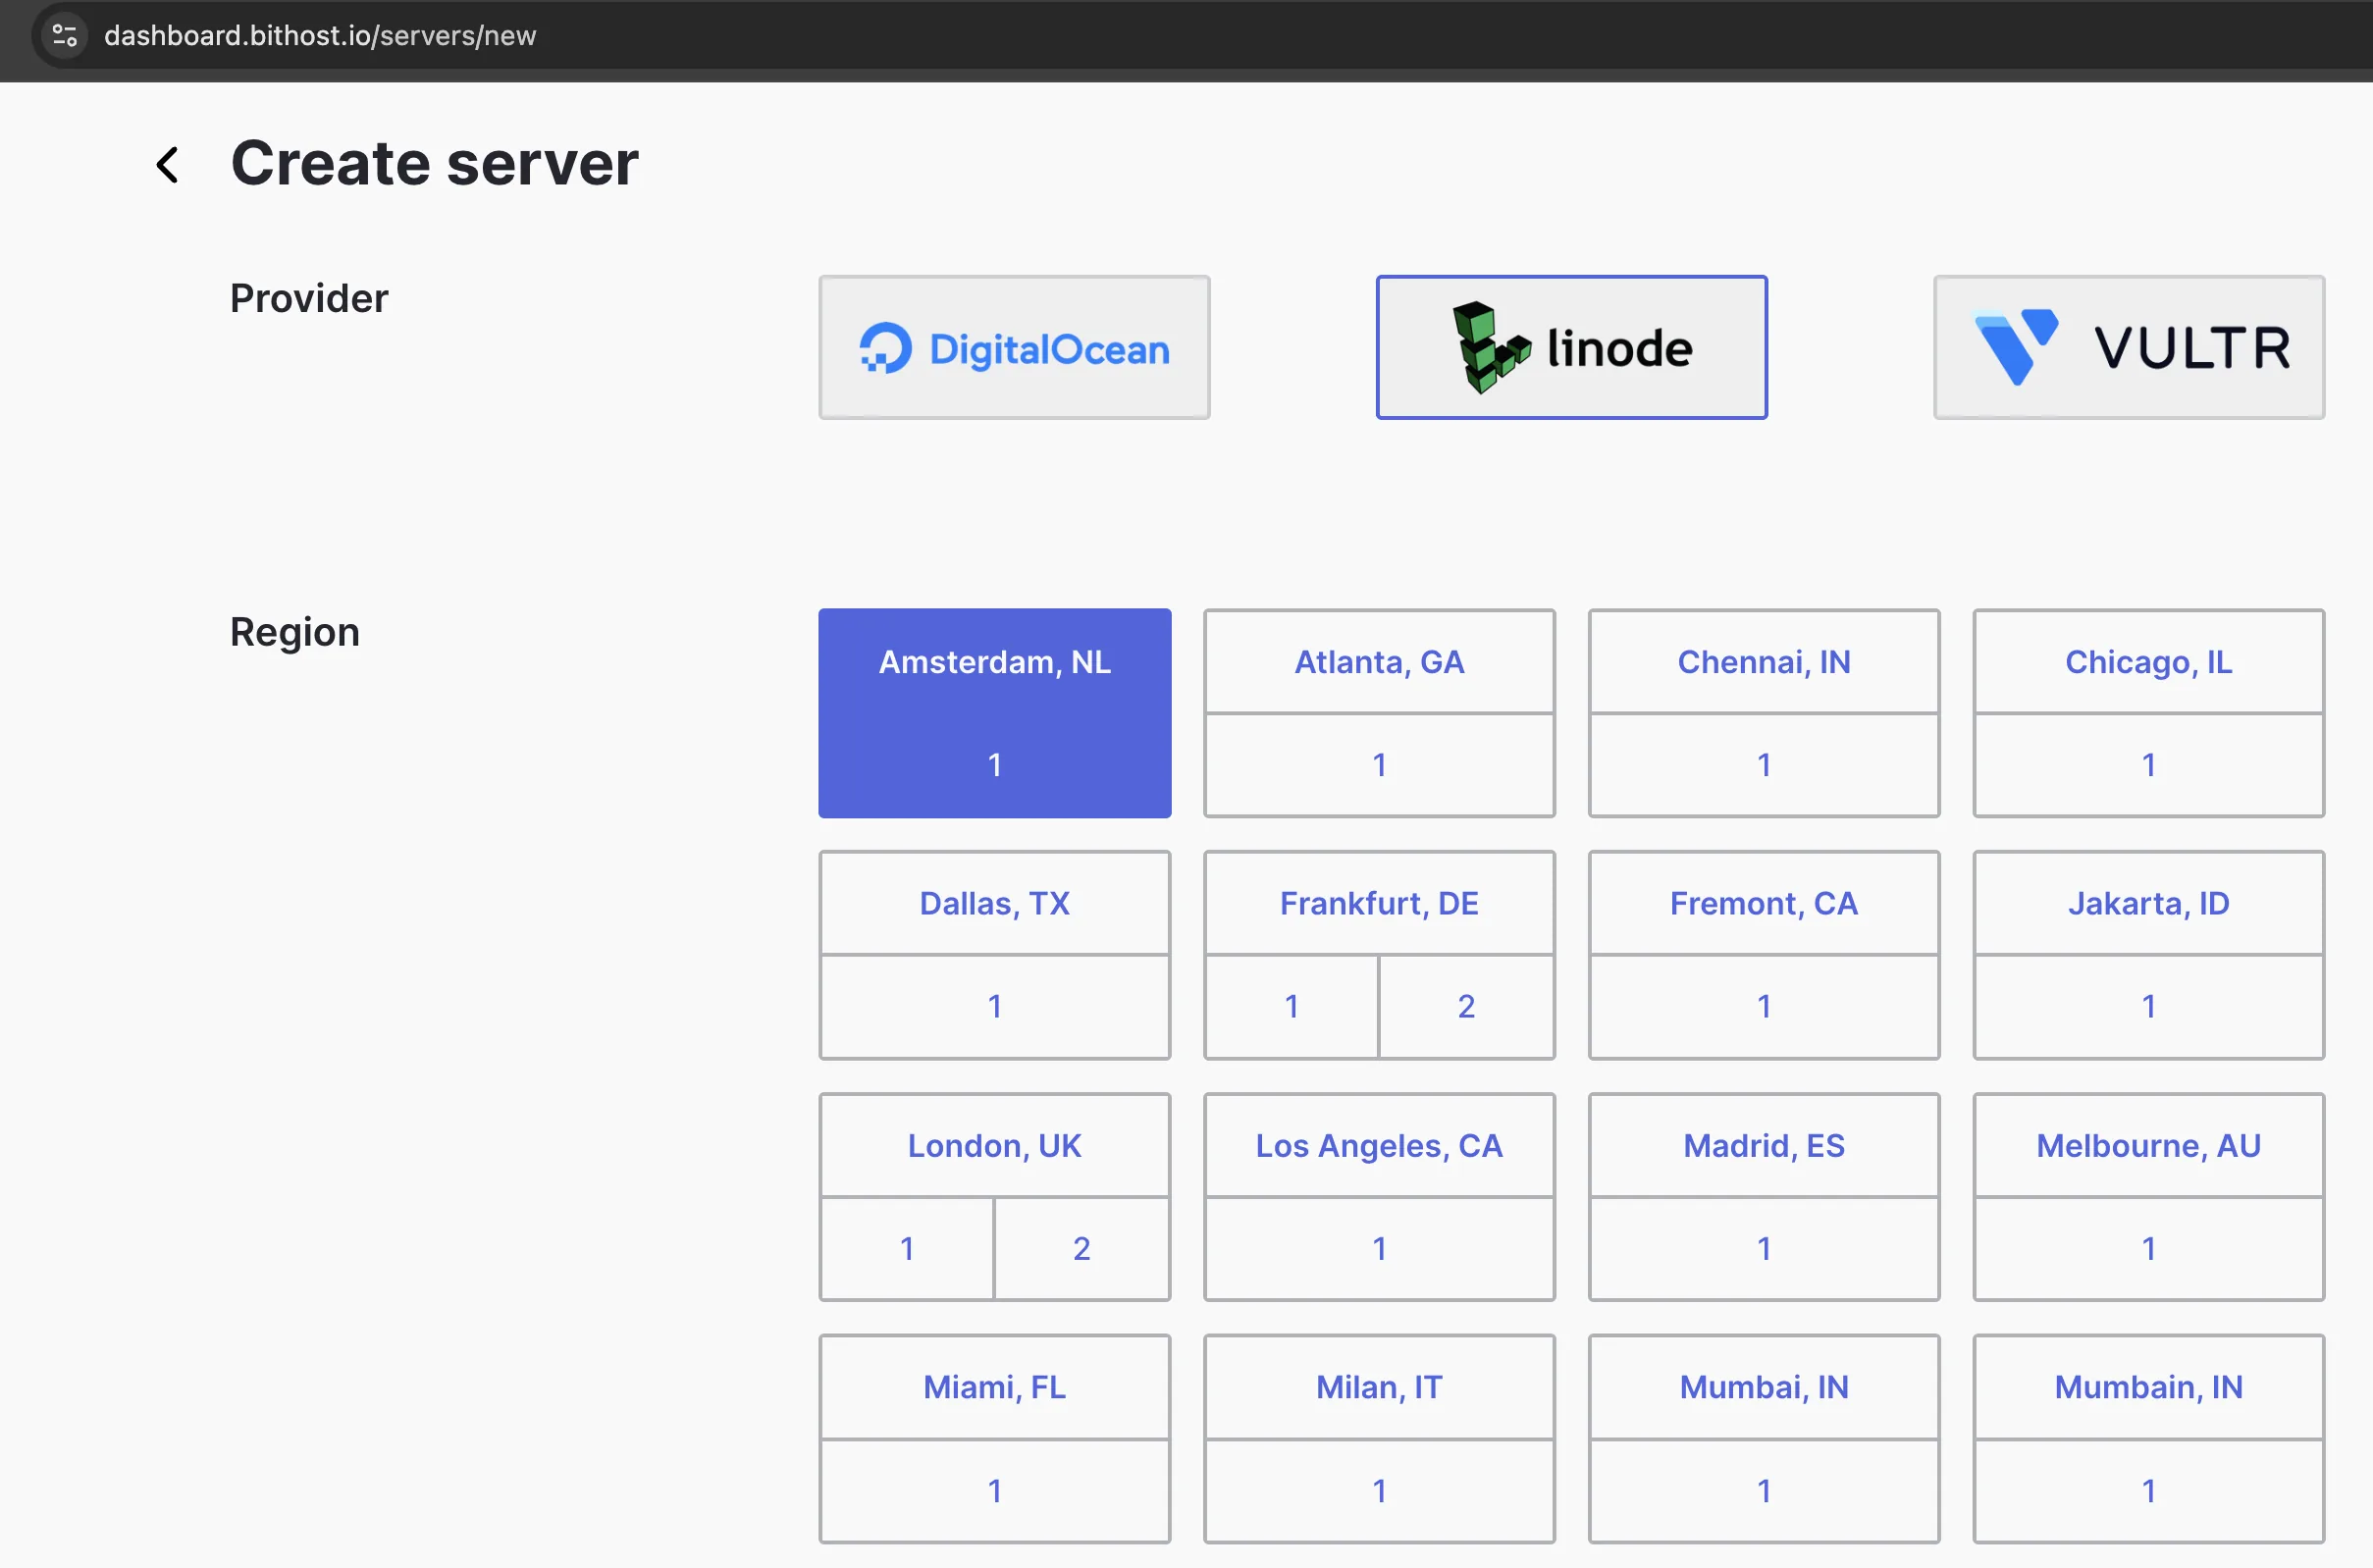
Pick a provider and region. bithost runs on DigitalOcean, Linode, and Vultr across 30+ locations worldwide. Not sure which to choose? See the choose the right plan guide.
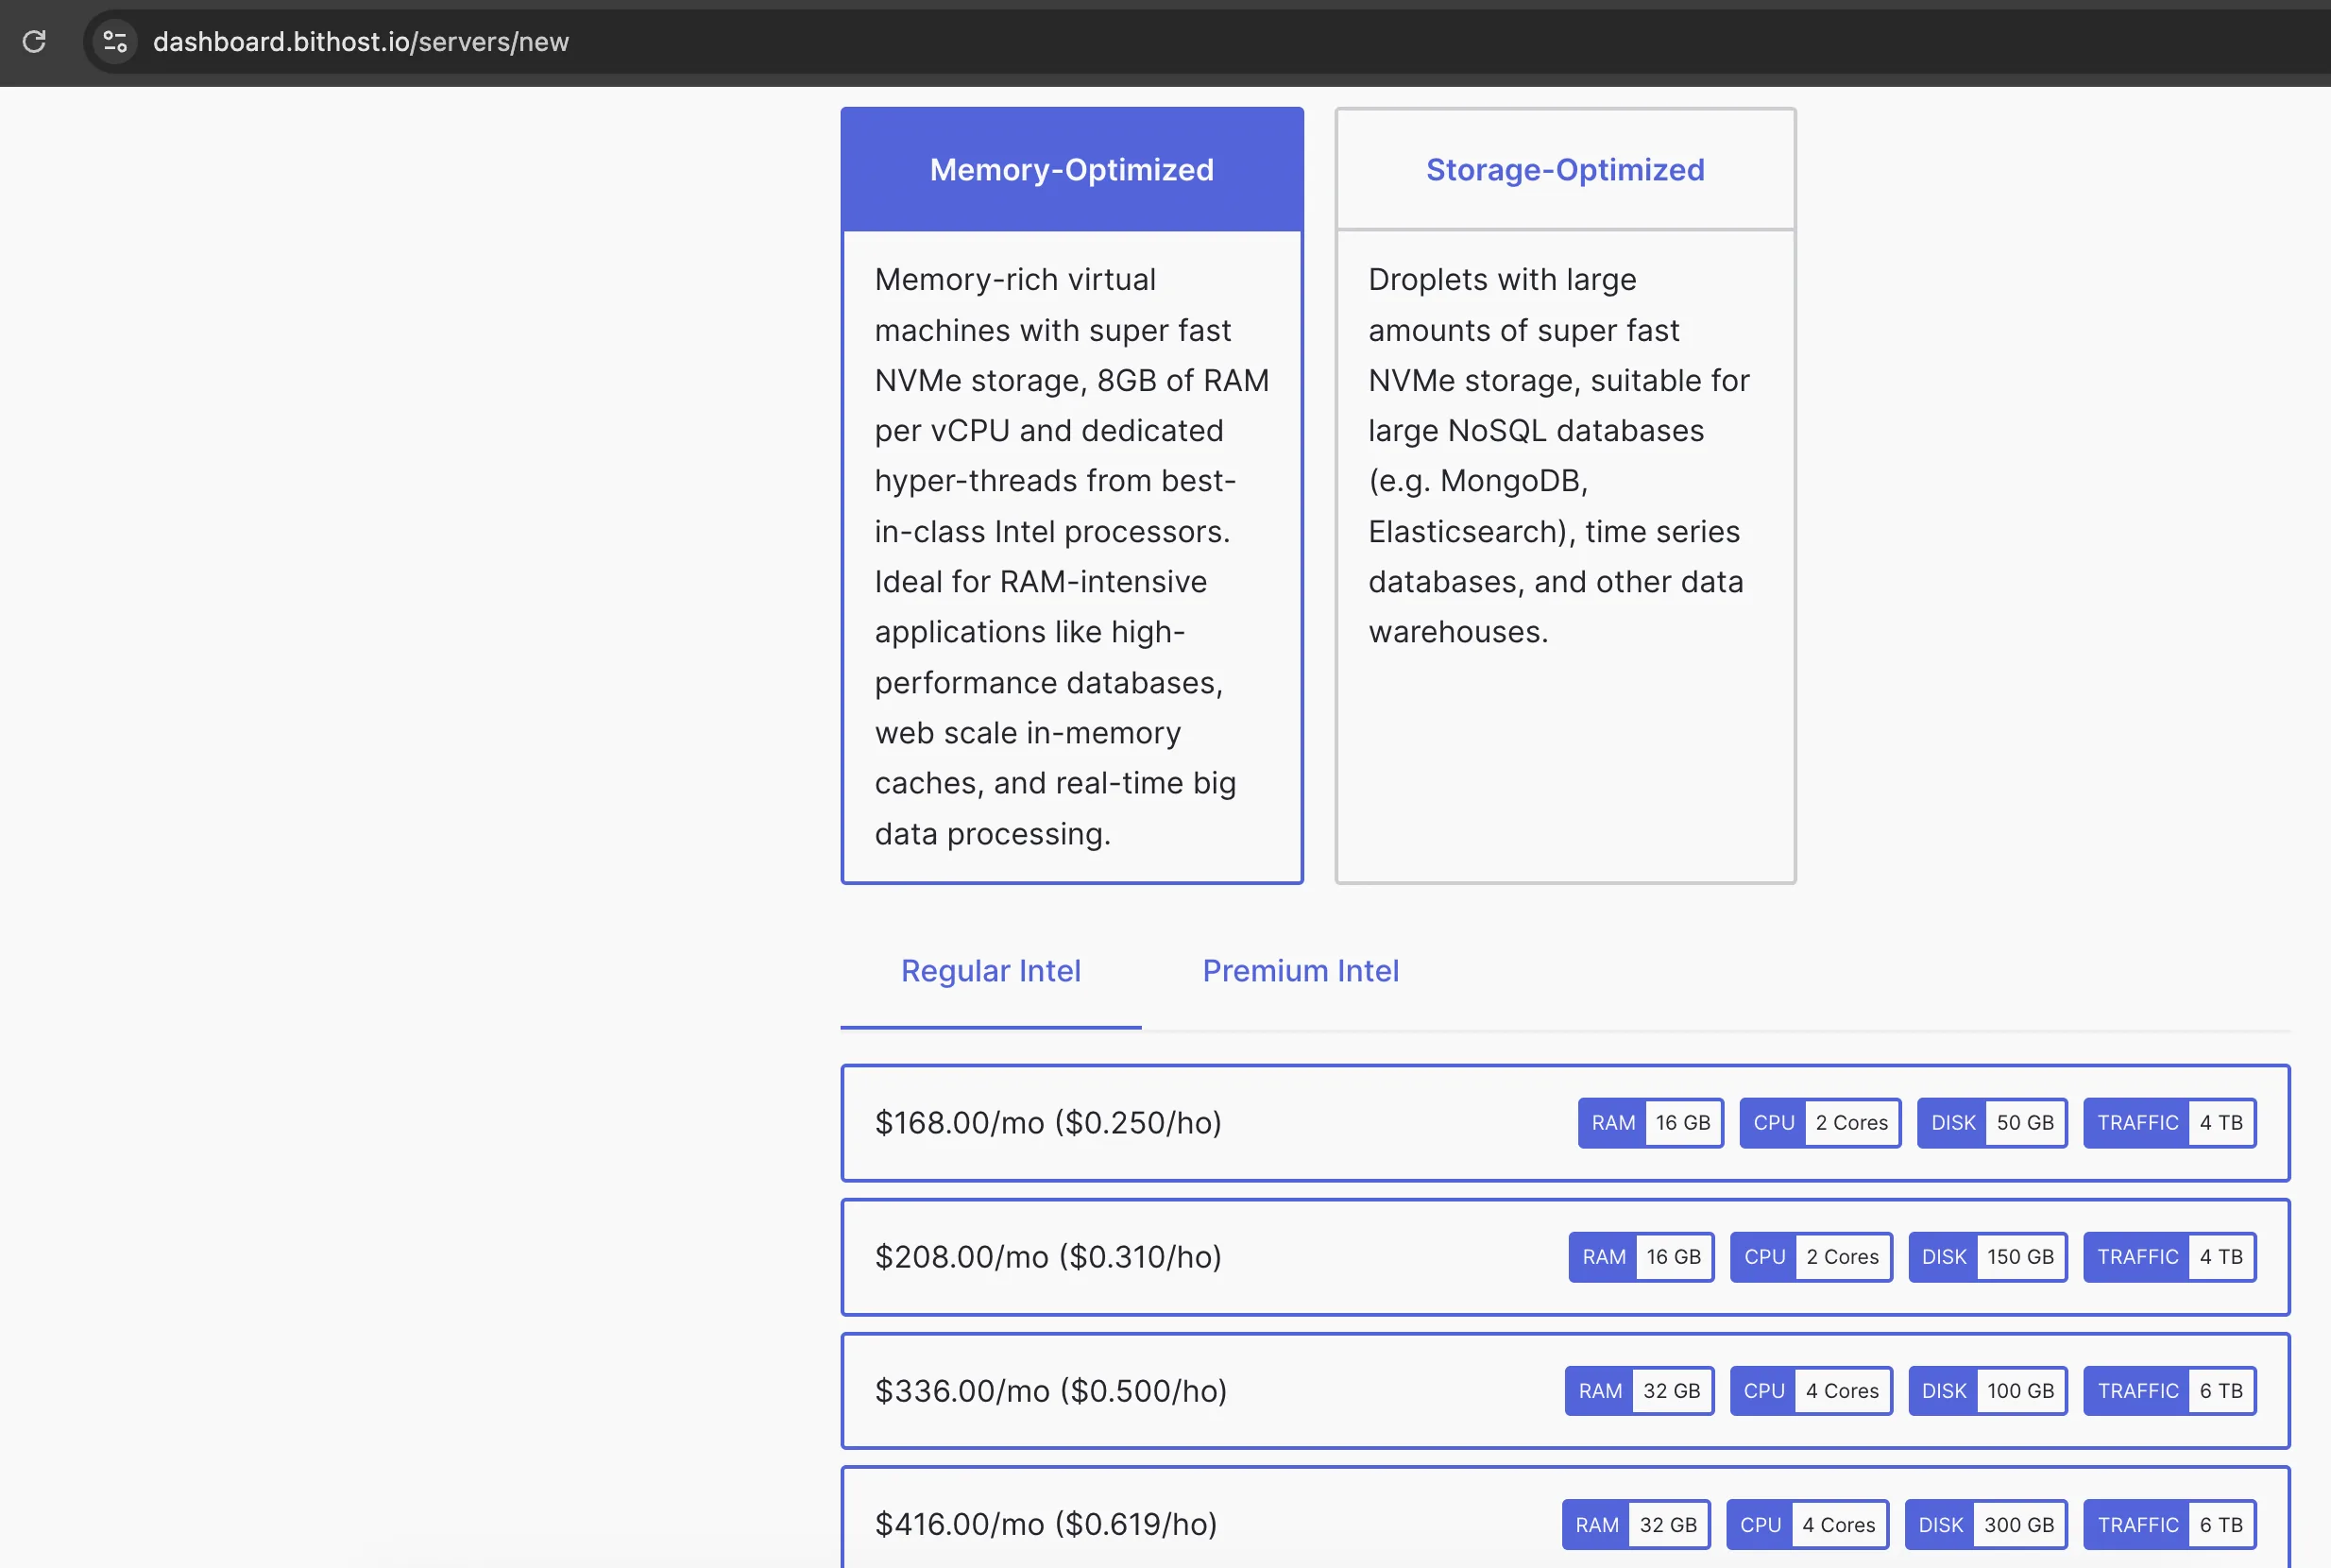
Select a size. Plans start from $0.015/hr. Choose the CPU, RAM, and disk that fits your workload. See the prices.
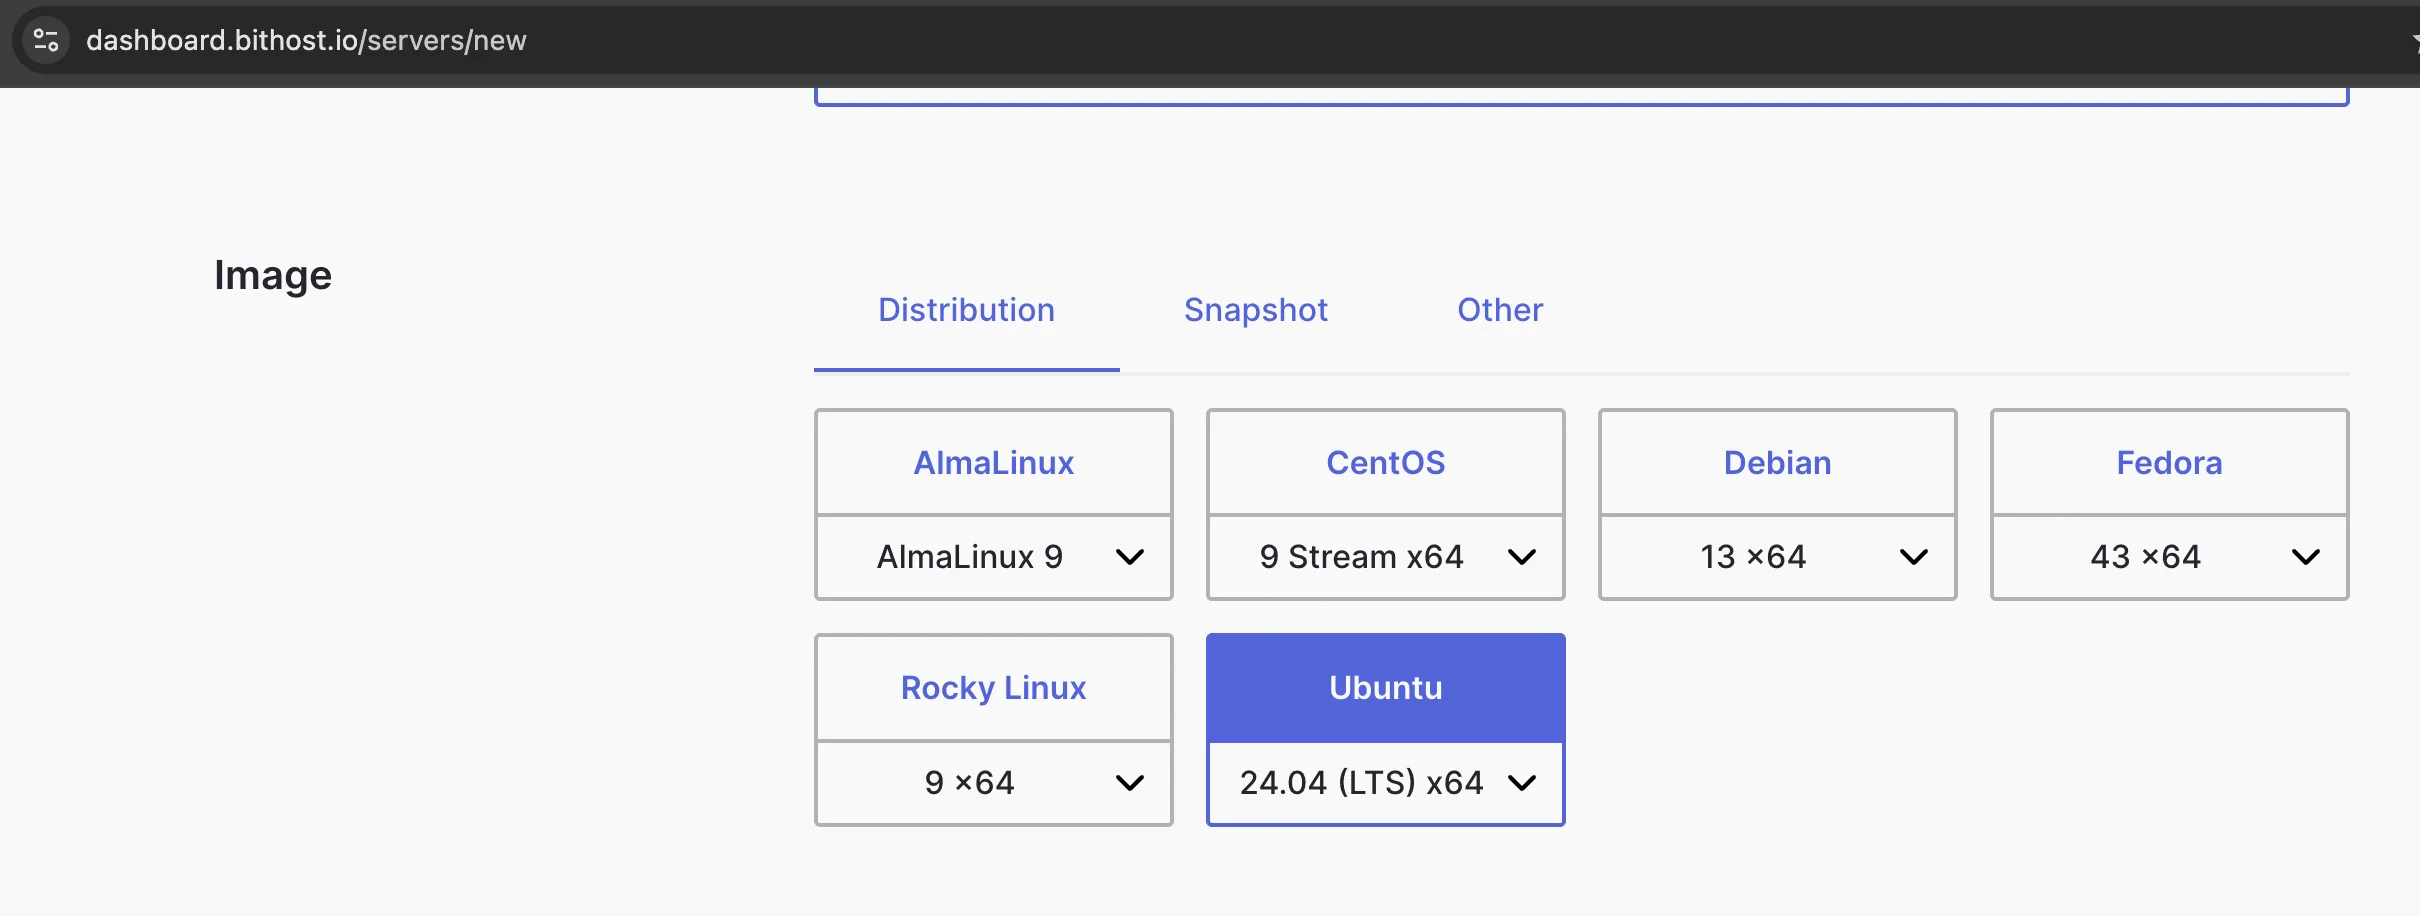
Select an image. Ubuntu, Debian, CentOS, Fedora, Windows, and more are available. The most common choices are:
| OS | Best For |
|---|---|
| Ubuntu 22.04 LTS | Beginners - most tutorials online use this |
| Debian 12 | Lightweight, stable, great for servers |
| CentOS Stream / AlmaLinux | Enterprise environments |
| Windows Server | Windows-specific apps (usually costs extra) |
Recommendation: If you're just getting started, choose Ubuntu 22.04 LTS. It has the largest community and the most guides available online.
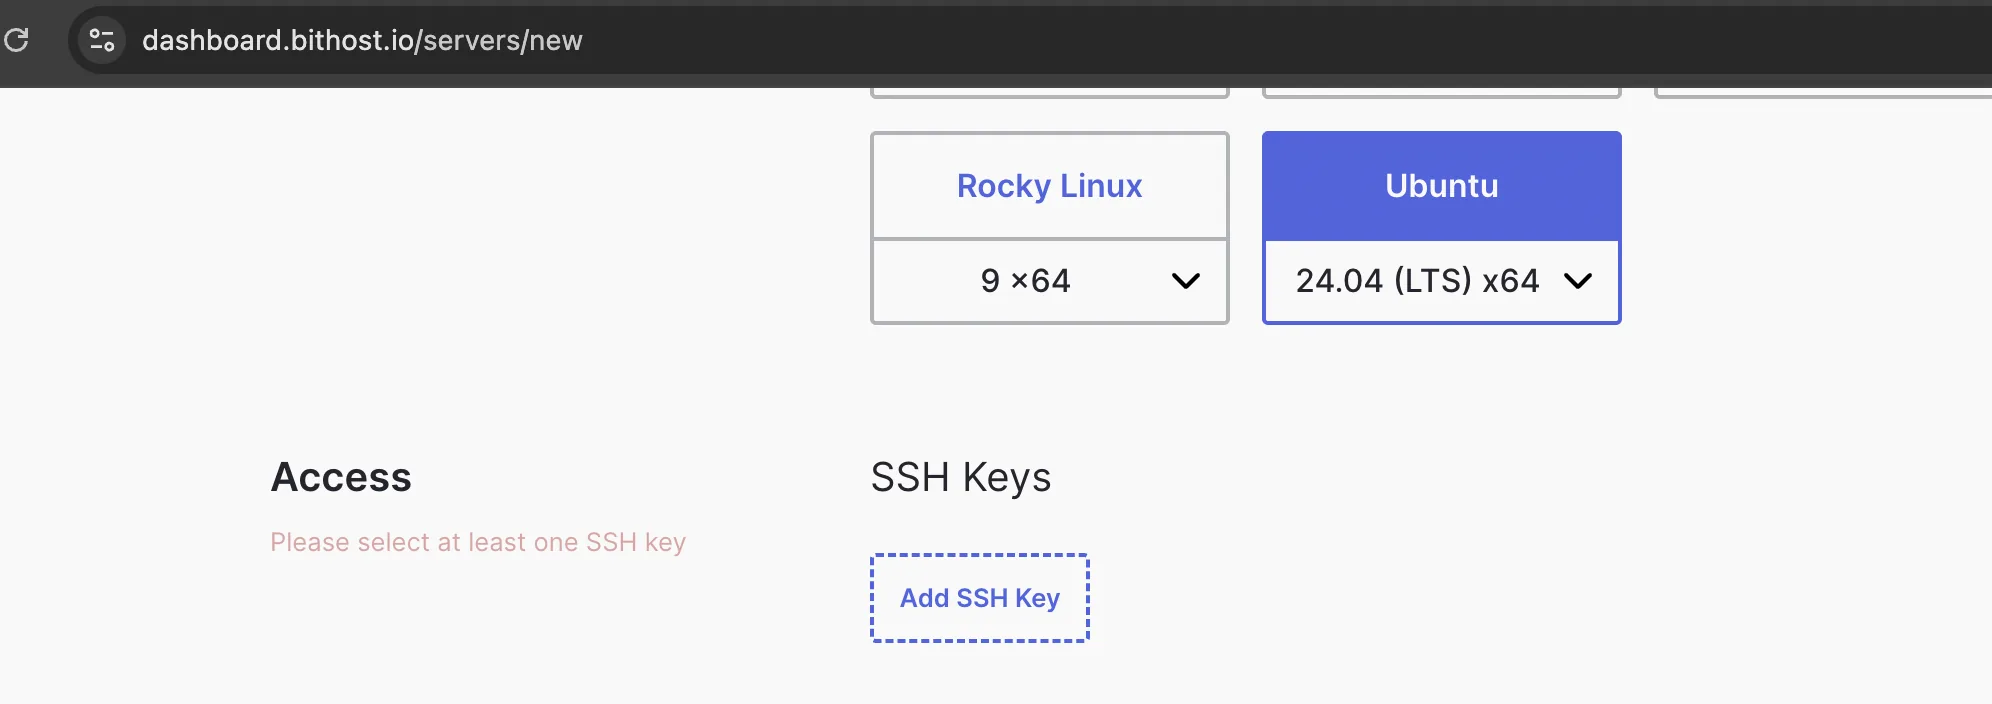
Add your SSH key. bithost uses SSH key authentication - there are no passwords emailed to you. Paste your public key and give it a name. If you don't have a key pair yet, generate one first:
ssh-keygen -t ed25519 -C "[email protected]"
Then copy your public key: cat ~/.ssh/id_ed25519.pub
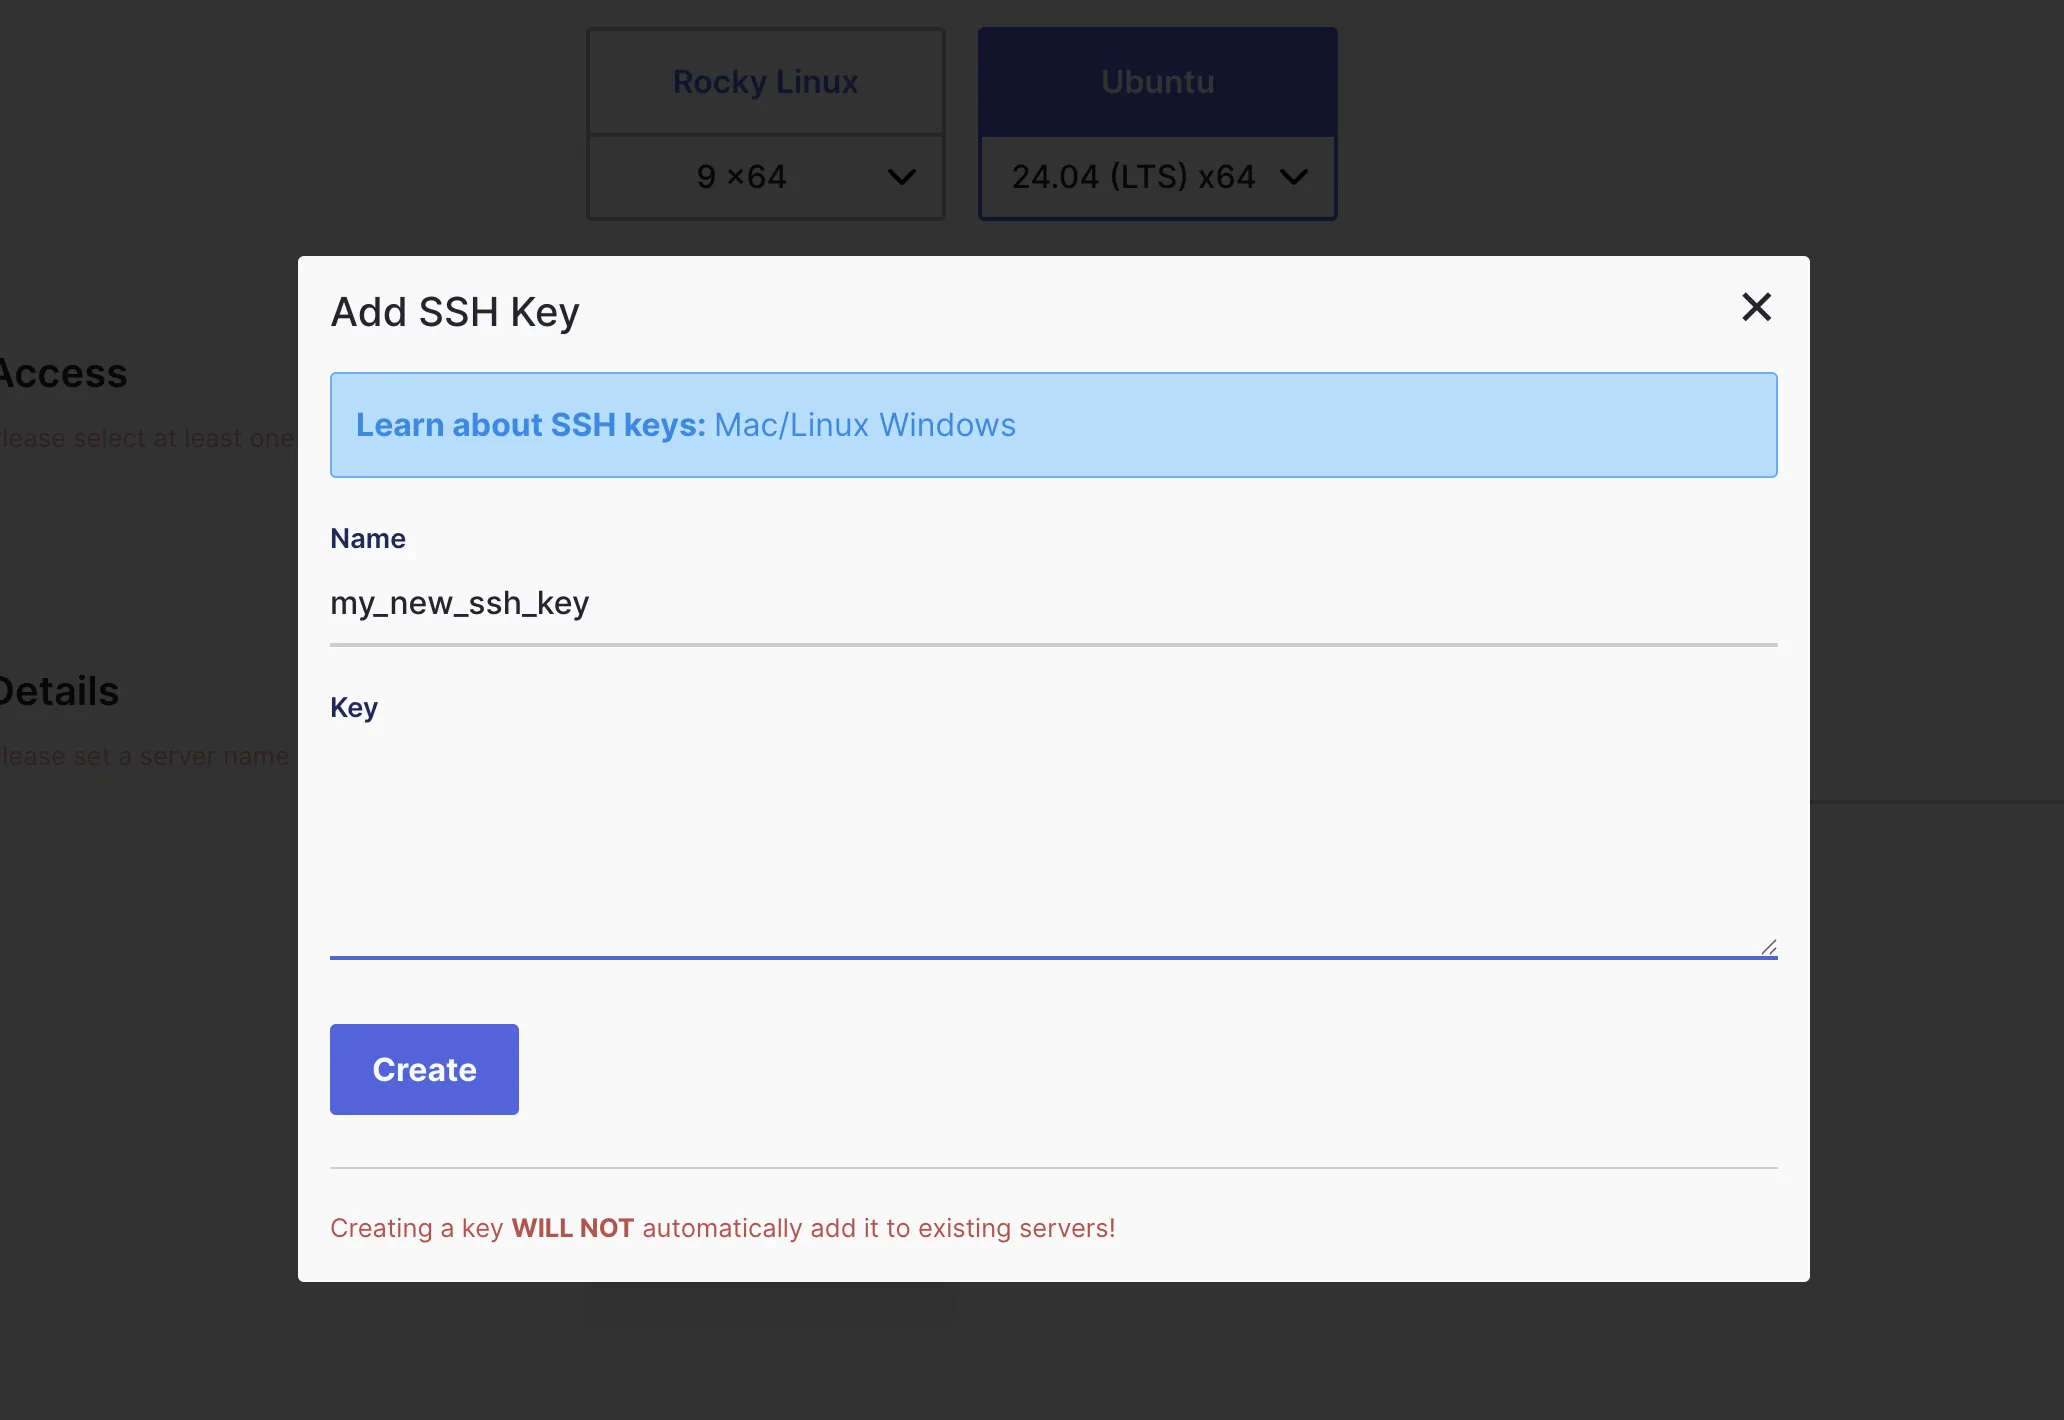
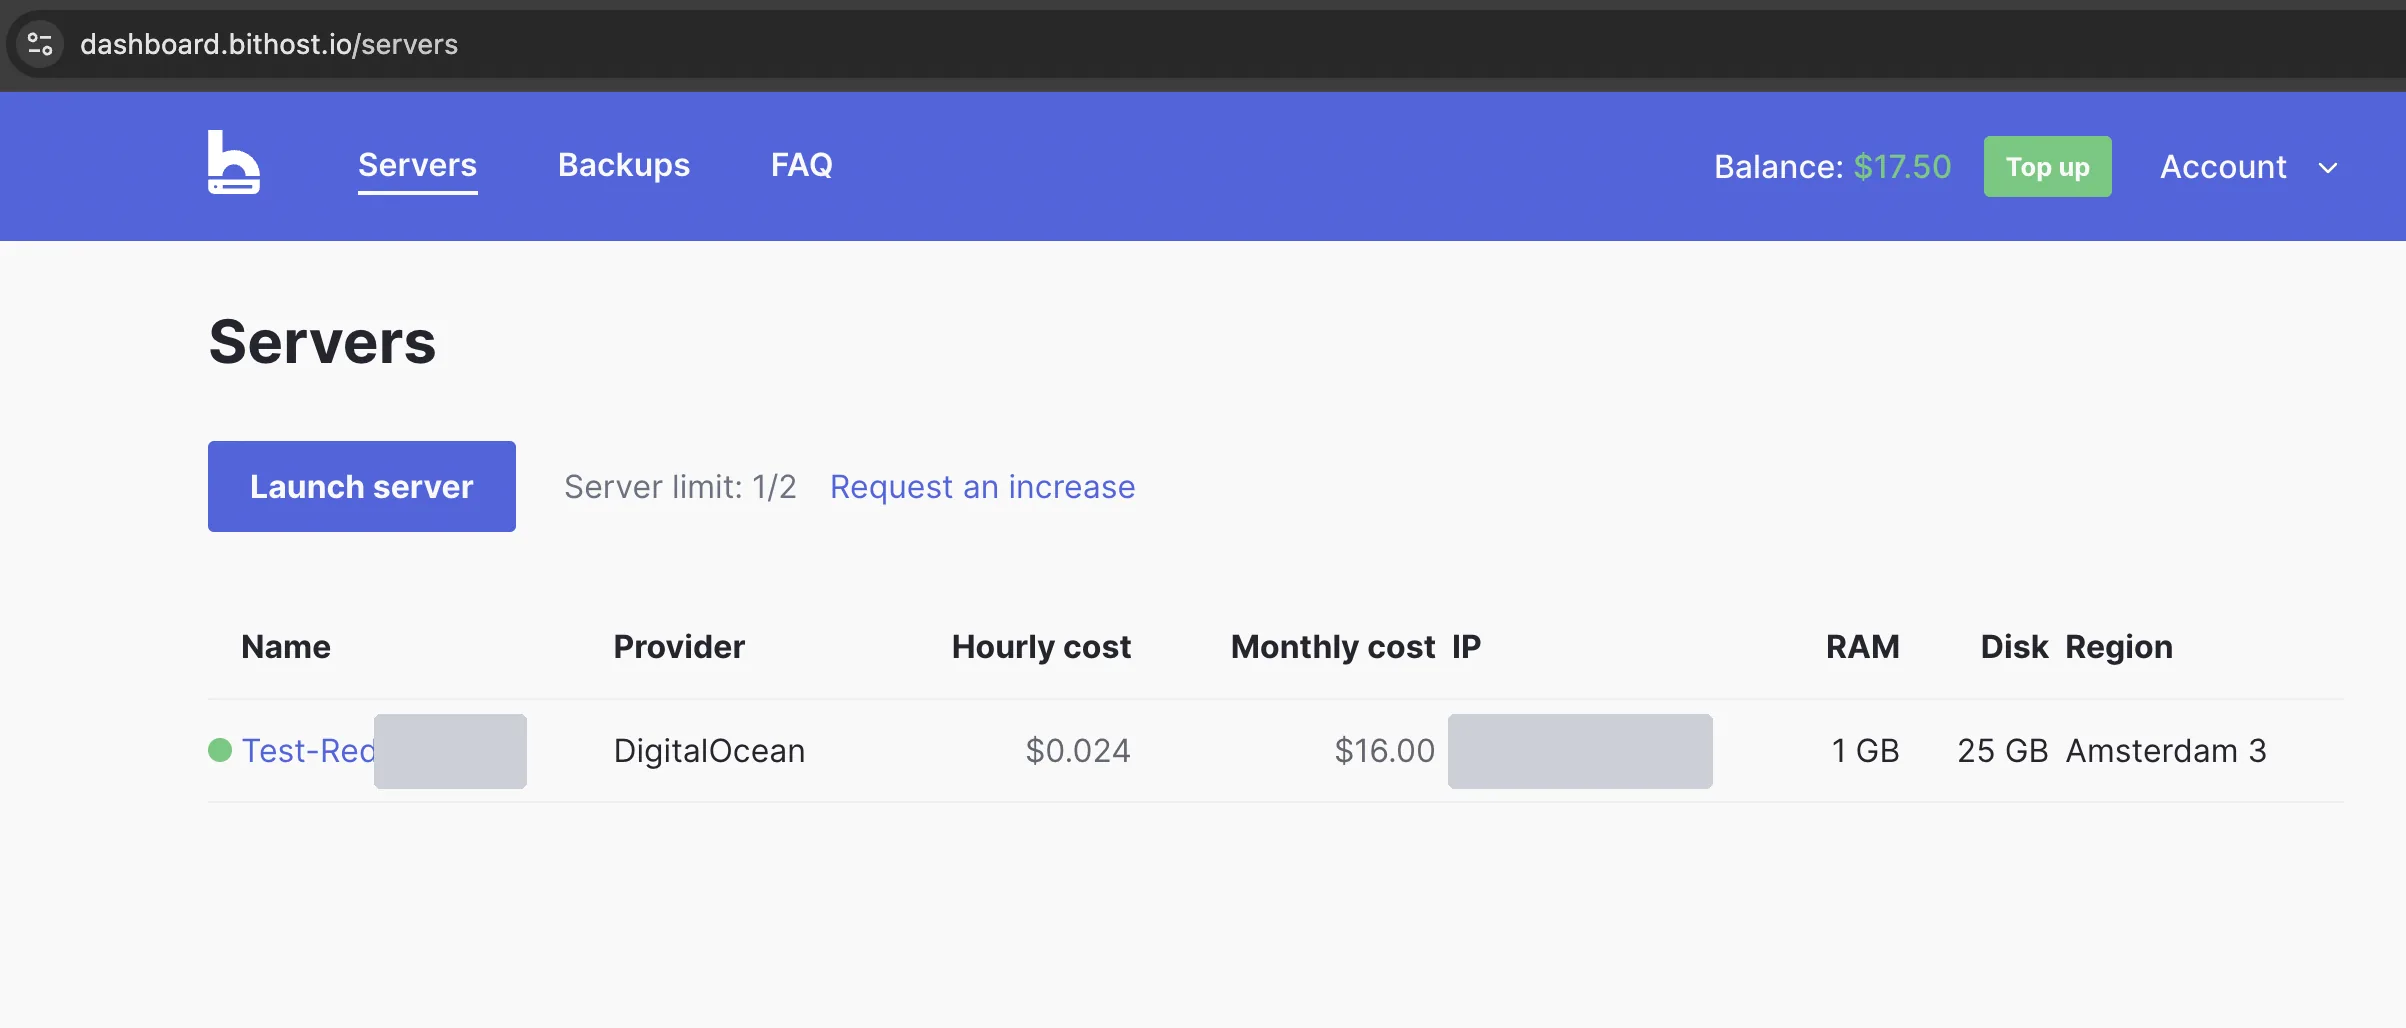
Enter a name for your server, then click Create server. Your server setup will begin and it will take a moment to be completely ready.
4. Login to the server
Once the server status shows Active, copy the IP address from the dashboard and connect via SSH.
If you added an SSH key during setup:
ssh -i ~/.ssh/id_ed25519 root@YOUR_SERVER_IP
If you're using the default key location and it's already in your
~/.ssh/authorized_keys, the shorter form works too:
ssh root@YOUR_SERVER_IP
On Windows, use PuTTY or the built-in
terminal in Windows 11. On macOS and Linux, the ssh command is
available out of the box.
You're in. Your server is live, billed per hour, and paid entirely in crypto.
Questions? Email us at [email protected] - we reply in under 2 hours, 7 days a week.